How to install the hydraulic system of a side wall tipper?
As a reputable side wall tipper supplier, we understand the importance of a well - installed hydraulic system for the optimal performance of your side wall tipper. In this blog post, I will guide you through the process of installing the hydraulic system of a side wall tipper.
Pre - Installation Preparations
Before you start the installation, it's crucial to gather all the necessary tools and materials. You'll need a set of wrenches, hydraulic hoses, fittings, a hydraulic pump, a reservoir, and a control valve. Make sure all the parts are of high quality and compatible with your side wall tipper.

Inspect the side wall tipper thoroughly to ensure it is in good condition and there are no damages that could affect the hydraulic system installation. Check the mounting points where the hydraulic components will be attached. They should be clean, free of rust, and properly sized.
Step 1: Mount the Hydraulic Pump
The hydraulic pump is the heart of the hydraulic system. First, identify a suitable location on the side wall tipper to mount the pump. This location should be close to the power source and away from any moving parts or sources of heat.
Use the appropriate bolts and washers to secure the pump to the mounting surface. Make sure the pump is level and firmly attached. Connect the pump to the power source, which could be the vehicle's engine or an electric motor. Follow the manufacturer's instructions carefully when making these connections.
Step 2: Install the Reservoir
The reservoir stores the hydraulic fluid. Choose a location where the reservoir can be easily accessed for maintenance and fluid level checks. Mount the reservoir securely using brackets or bolts.
Connect the reservoir to the pump using the hydraulic hoses. Ensure that the hoses are of the correct size and are properly tightened using wrenches. Use appropriate fittings to make leak - proof connections. The hoses should be routed in a way that avoids sharp bends or kinks, as this can restrict the flow of hydraulic fluid.
Step 3: Install the Control Valve
The control valve allows you to control the operation of the hydraulic system, such as raising and lowering the side wall of the tipper. Mount the control valve in a convenient location where it can be easily reached by the operator.
Connect the control valve to the pump and the hydraulic cylinders using the hoses. The connections to the control valve are crucial, as incorrect connections can lead to improper functioning of the system. Refer to the valve's manual for the correct connection diagram.
Step 4: Install the Hydraulic Cylinders
The hydraulic cylinders are responsible for lifting and lowering the side wall of the tipper. Mount the cylinders at the appropriate locations on the side wall and the chassis of the tipper. Use proper mounting brackets and pins to ensure a secure connection.
Connect the hydraulic cylinders to the control valve using the hoses. Make sure the cylinders are properly aligned and that there is enough clearance for them to operate without interference.
Step 5: Bleeding the Hydraulic System
After all the components are installed and connected, it's essential to bleed the hydraulic system to remove any air bubbles. Air in the system can cause reduced performance and damage to the components.
To bleed the system, start the power source and operate the control valve to move the hydraulic cylinders several times. Open the bleed valves on the cylinders and let the air escape along with a small amount of hydraulic fluid. Close the bleed valves once the fluid flowing out is free of air bubbles.
Step 6: Fluid Check and Testing
Check the hydraulic fluid level in the reservoir. The fluid level should be within the recommended range indicated on the reservoir. If necessary, add the appropriate type of hydraulic fluid.
Perform a thorough test of the hydraulic system. Operate the control valve to raise and lower the side wall of the tipper several times. Check for any leaks at the connections, abnormal noises, or uneven operation of the cylinders. If you notice any issues, stop the system immediately and troubleshoot the problem.
Reinforcing the Installation
After successful testing, reinforce all the connections further. Double - check the tightness of the bolts and fittings to prevent any loosening during the operation of the side wall tipper.
It's also a good idea to install protective sleeves on the hydraulic hoses to prevent damage from abrasion, heat, or other external factors.
Conclusion
Installing the hydraulic system of a side wall tipper requires careful planning, proper tools, and attention to detail. By following these steps, you can ensure a successful installation and reliable operation of your side wall tipper.
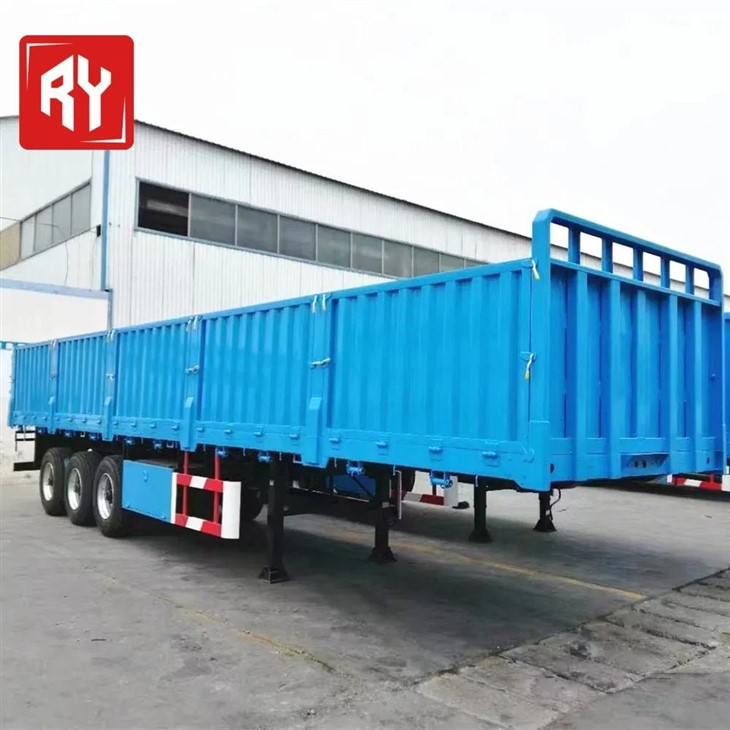
As a side wall tipper supplier, we offer a wide range of high - quality side wall tippers, including the 40FT Side Wall Semi Trailer, 3 - Axle Side Wall Tipper Semi - Trailer for Coal Made From Steel, and Triple Axle Side Wall Trailer. If you are interested in purchasing a side wall tipper or need further assistance with hydraulic system installation, we welcome you to contact us for a procurement discussion. Our team of experts is ready to help you find the best solution for your needs.
References
- Hydraulic System Installation Manuals from leading manufacturers
- Technical documentation on side wall tippers for hydraulic system integration
- Industry - specific guidelines on hydraulic system safety and performance


